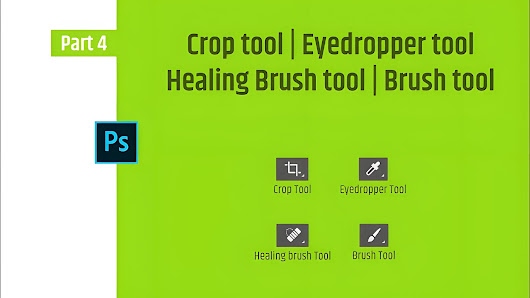
The Crop, Clone, and Heal tools are essential features in image editing software such as Adobe Photoshop. Here's a brief explanation of each tool and how they are used:
### Crop Tool
The Crop Tool is used to remove unwanted areas from an image. It allows you to select a specific portion of the image and discard the rest, effectively changing the image's size and aspect ratio.
- **How to use the Crop Tool:** Select the Crop Tool from the toolbar, which looks like a pair of overlapping rectangles. Then, click and drag the tool over the area you want to keep. You can resize the crop area by dragging the edges or corners of the bounding box. To constrain the crop to a specific aspect ratio, hold down the `Shift` key while resizing. When you're happy with the selection, press `Enter` (Windows) or `Return` (Mac) to apply the crop.
- **Tips and Uses:** Use the Crop Tool to focus on the main subject, remove background distractions, or to reframe an image. It's also useful for preparing images for different formats, such as social media posts or prints with specific dimensions.
### Clone Stamp Tool
The Clone Stamp Tool is used for duplicating and repositioning pixels from one part of an image to another. It's often used for removing objects, fixing blemishes, or extending patterns.
- **How to use the Clone Stamp Tool:** Select the Clone Stamp Tool from the toolbar, which looks like a rubber stamp. Press `Alt` (Windows) or `Option` (Mac) and click the area of the image you want to clone. This sets the source point. Then, move the tool to the destination area where you want to apply the clone and click and drag to paint with the cloned pixels. The tool samples the color and texture from the source point and applies it to the new location.
- **Tips and Uses:** Use the Clone Stamp Tool with a soft brush for a more natural-looking blend. For better results, clone from an area with a similar texture and lighting to the area you're working on. It's excellent for removing small imperfections, like dust spots on a photograph or duplicating elements in an image.
### Healing Brush Tool
The Healing Brush Tool is a more advanced version of the Clone Stamp Tool that blends the cloned pixels with the surrounding area for a more seamless result. It's particularly useful for repairing images with complex textures or when you need to cover a larger area.
- **How to use the Healing Brush Tool:** Select the Healing Brush Tool from the toolbar, which looks like a band-aid. Choose a source area by `Alt`-clicking (Windows) or `Option`-clicking (Mac) on the image. Then, paint over the area you want to fix. The tool will analyze the texture, lighting, and shading of the surrounding pixels and blend the cloned area accordingly. You can adjust the brush size and hardness to suit your needs.
- **Tips and Uses:** The Healing Brush Tool is great for fixing larger areas of an image, such as removing people from a background or fixing skin imperfections in portrait photography. It's also useful for blending cloned areas into complex textures like fur, leaves, or fabric.
### Spot Healing Brush Tool
The Spot Healing Brush Tool is a simplified version of the Healing Brush Tool that automatically samples the surrounding area to fix blemishes and small imperfections.
- **How to use the Spot Healing Brush Tool:** Select the Spot Healing Brush Tool from the toolbar, which looks like a band-aid with a crosshair. Set the brush size to match the size of the blemish you want to remove. Simply click on the imperfection, and the tool will automatically sample the surrounding area and blend it in.
- **Tips and Uses:** Use the Spot Healing Brush Tool for quick and easy touch-ups on small areas, such as removing pimples, scratches, or sensor dust from photos. It's excellent for minor retouching tasks.
When using these tools, always work on a separate layer or a duplicate of your original image to preserve the original data. This allows you to make non-destructive edits and go back to the original if needed. Also, remember to use a soft brush for a more natural-looking result and experiment with the tool's settings to achieve the best results for your specific image.
